

A remodel doesn't get cleaned once. It gets cleaned in stages: a rough clean while the crew is still around, a detailed final clean after the last trade leaves, and a touch-up after the punch list is fixed and the dust that was still floating has landed. Most of the frustration people have with post-construction cleaning comes from trying to make one of those do the work of all three.
This checklist walks through each phase, what should already be done before the detailed clean starts, a room-by-room list, and the tricky parts that cause real damage when they're rushed: labels and paint on new glass, grout haze on new tile, and cleaning products on brand-new finishes.
We're Krystal View Cleaning, a family-owned company in Davenport. We handle the light side of this, the final and touch-up cleans, for homes and vacation rentals around Central Florida. The rough clean and the debris belong to your contractor, and we'll say so where it matters below.
The three phases and who usually handles each
The names vary from crew to crew, but nearly every post-construction cleanup breaks down the same way. Knowing which phase you're in tells you how much detail is worth doing right now.
- Rough clean (during the build and as the work wraps up): hauling scrap, offcuts and packaging, sweeping up debris, emptying the dumpster. This is the contractor's crew, not a house cleaner, and it isn't meant to be detailed.
- Final clean (after every dusty trade is finished): the detailed pass on every surface, high to low, inside cabinets and appliances, glass, fixtures and floors. This is where most of the hours go.
- Touch-up or punch clean (a few days later, after the walkthrough and any repairs): catches dust that settled after the final clean, fingerprints from the punch-list crew, and any new marks. It's quick if the final clean was done right.
Before the final clean: what should already be done
A detailed clean in an unfinished space is money and effort down the drain. Run through this list before you book one, and if anything is still open, push the date.
- All debris, scrap and packaging hauled out, dumpster gone or closed.
- Every cutting, sanding, painting and grouting task finished, including touch-ups.
- Grout and caulk cured per the product label, so cleaning doesn't damage them.
- Punch-list repairs done, or at least scheduled with a touch-up clean planned after.
- Power and water on, and lights working so the cleaner can actually see the dust.
- A fresh AC filter in and ceiling fans off.
- The dust given time to settle, at least a few hours and ideally overnight. Our guide on how long construction dust takes to settle explains why.
Kitchen checklist
Kitchens collect the most hidden dust because they have the most boxes with doors. Every cabinet sat open during the install, and drywall dust drifted into every one. Vacuum the dust out of cabinet boxes and drawers before you wipe them, or you'll just push a gray paste into the corners.
- Tops of upper cabinets and the gap between cabinets and ceiling.
- Cabinet interiors, shelves, drawer boxes and drawer tracks: vacuum, then damp wipe.
- Hinges, pulls and knobs, plus the toe kicks along the floor.
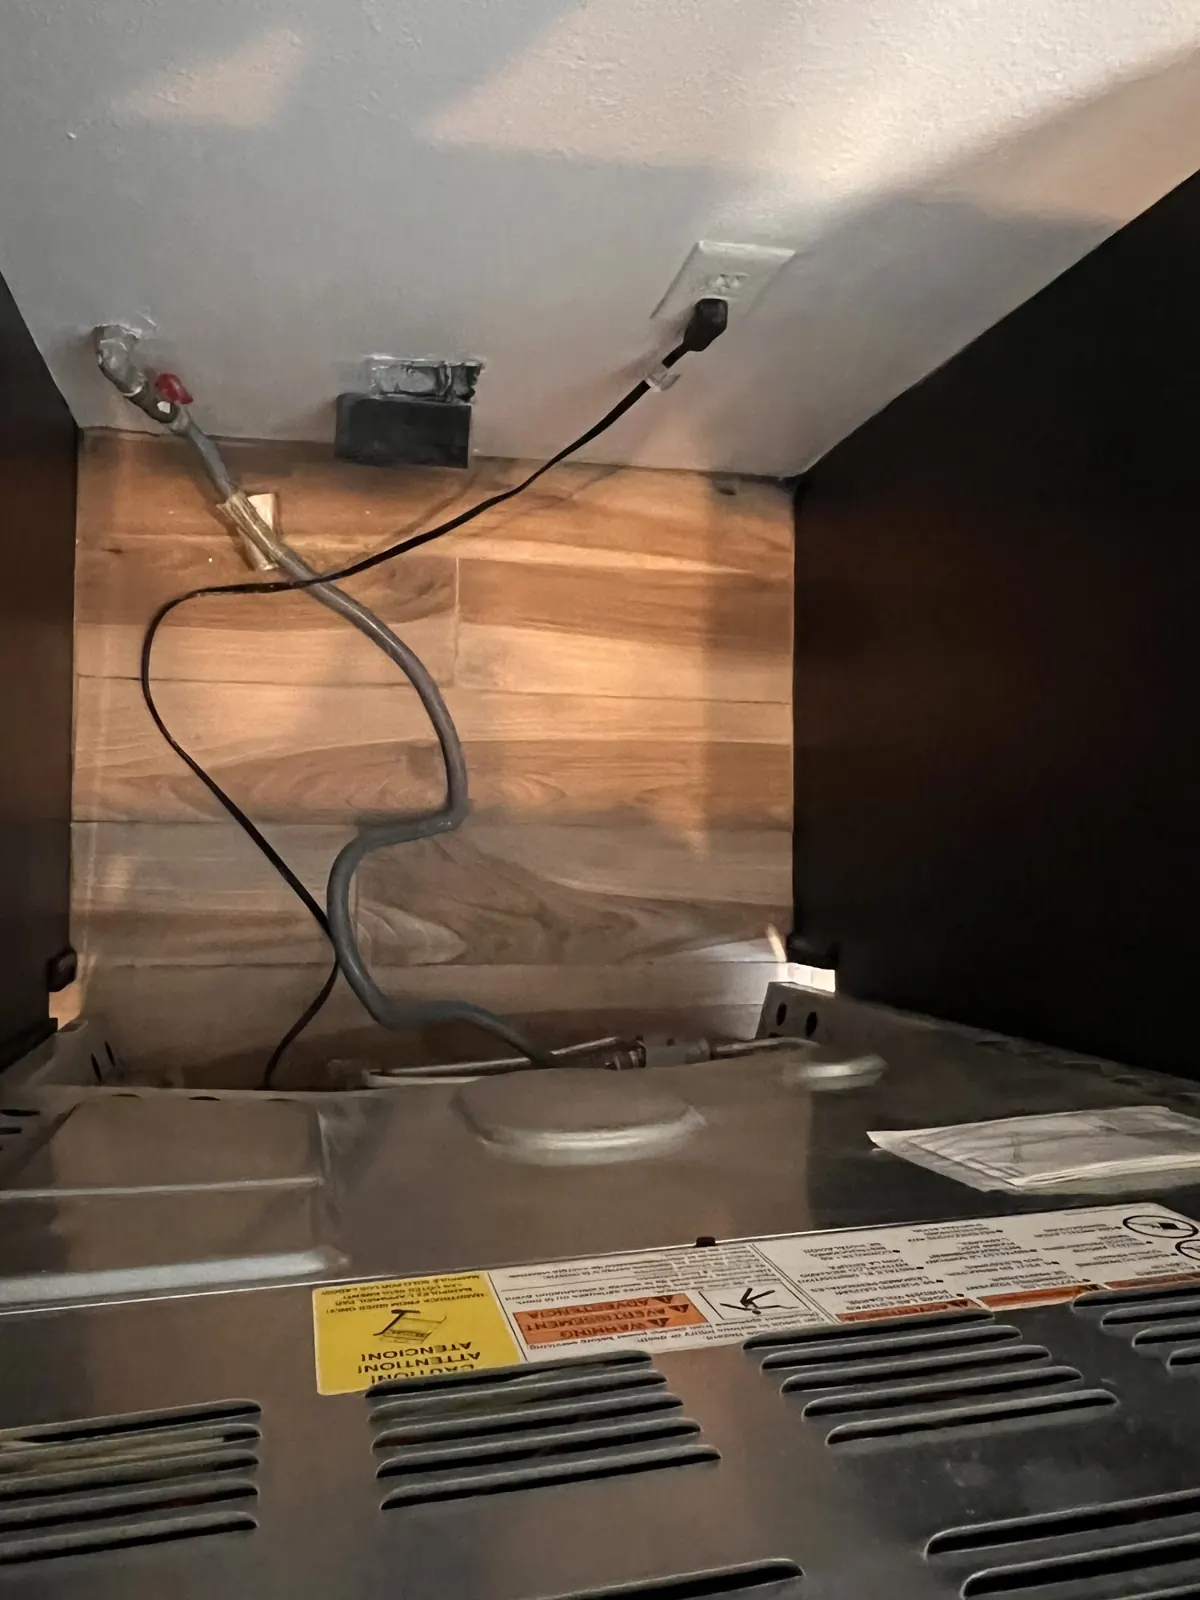
- Under-sink cabinet: sawdust and plumbing debris collect here.
- Appliances: peel the protective film, remove packing tape and inserts, then wipe inside the oven, fridge, dishwasher and microwave.
- Range hood and its filter.
- Counters: use a pH-neutral cleaner on natural stone, and keep vinegar and other acids off marble and other acid-sensitive stone.
- Backsplash: check for grout haze and caulk smears (see below).
- Sink, faucet and the edge where the sink meets the counter.
Bathroom checklist
Bathrooms are mostly tile, glass and metal, and new ones often carry residue from the installers on all three. Go slowly on anything that's newly grouted or caulked. For the mineral spots that come later, see our guide to hard water stains in Central Florida.
- Exhaust fan cover: remove it if it pops off easily and wash it, then vacuum the housing.
- Shower glass: labels, caulk smears and specks. Some new shower glass has a factory protective coating, so ask the installer before using a blade or any abrasive.
- Tile and grout: grout haze, thinset smudges and dust in the grout lines.
- Fixtures: stickers on faucets and shower trim, plus the film left on new chrome.
- Toilet: the base, behind the tank and the floor around the bolts.
- Vanity drawers and cabinet interiors.
- Mirror edges and the top of the mirror or medicine cabinet.
Living areas, bedrooms and closets
- Ceiling fans and light fixtures, including the inside of glass globes.
- Crown molding, the tops of door frames and the tops of doors.
- Walls and trim: dust with a HEPA vacuum brush, then a light damp wipe, gently on new paint.
- Outlet covers and switch plates: barely damp cloth only, never wet.
- Supply registers and return grilles.
- Blinds and shutters, if they were installed or left up during the work.
- Closet shelves, rods and the closet floor.
- Baseboards, last, right before the floors.
Windows, sliders and tracks
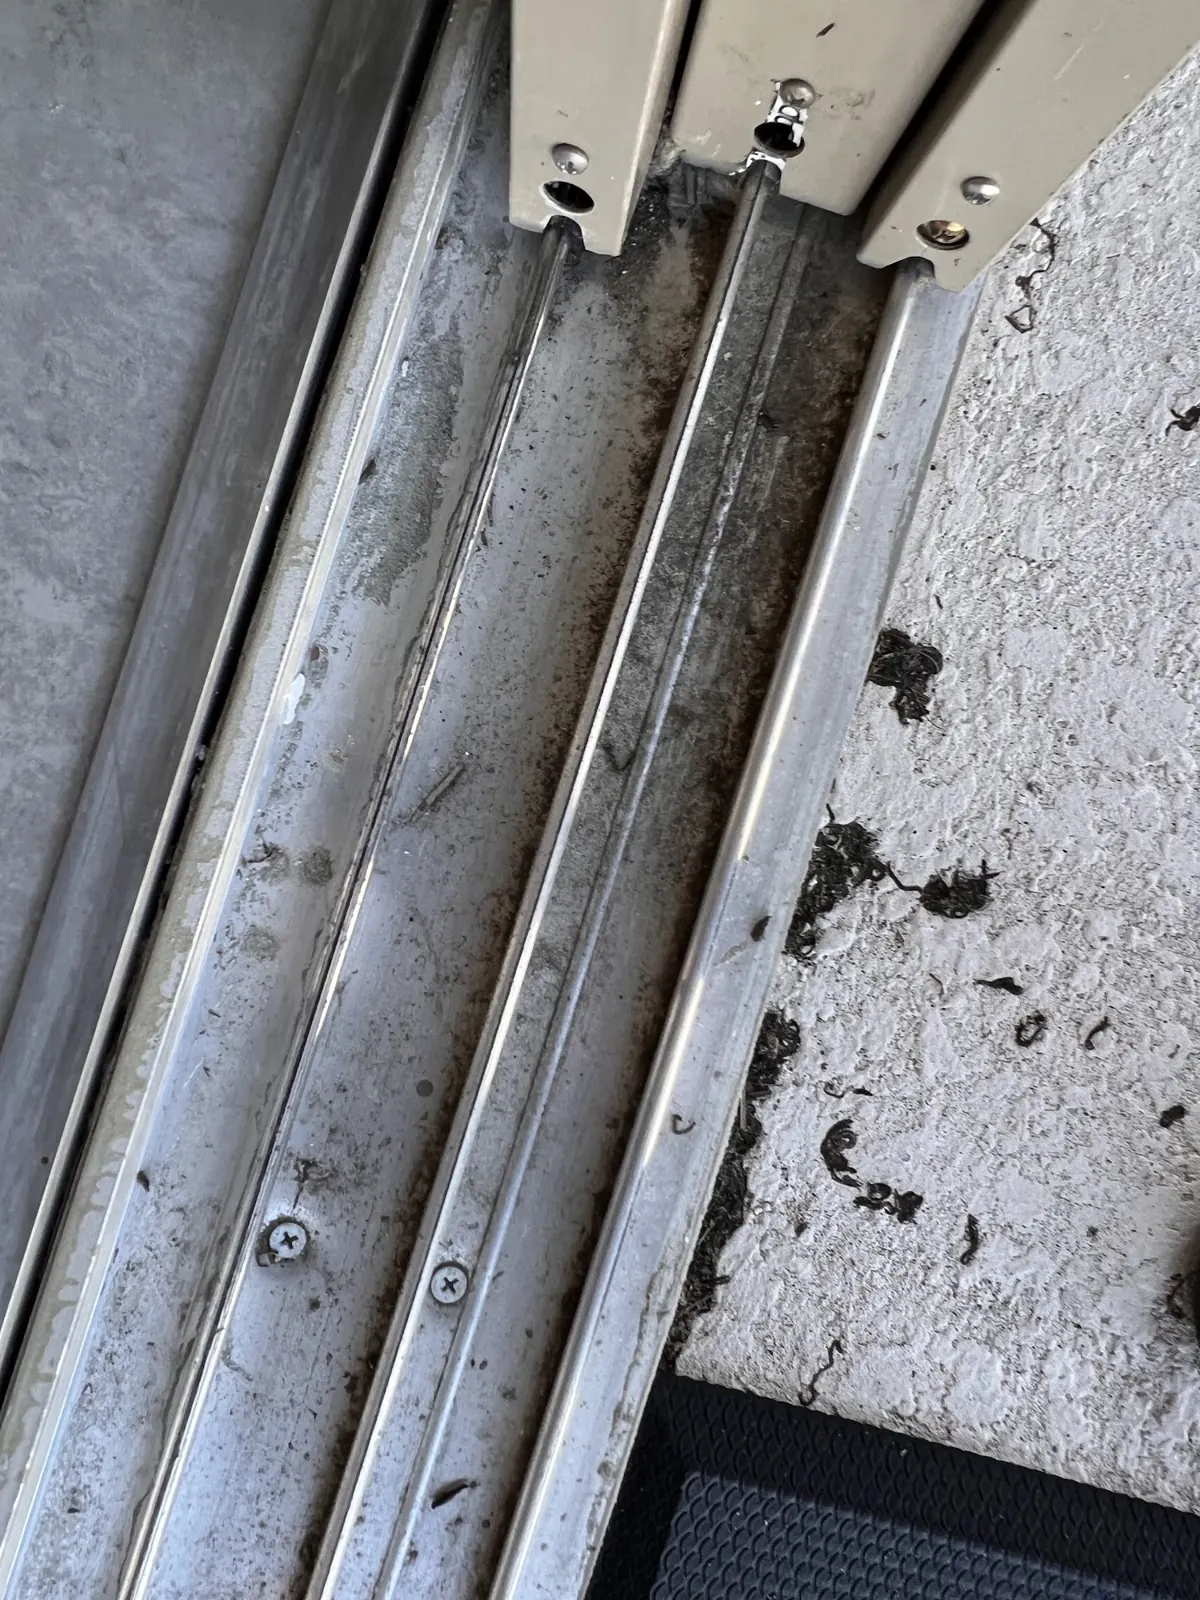
New windows and doors trap a surprising amount of fine dust in the tracks, and lanai sliders in Florida pick up sand on top of it. Vacuum the tracks with a crevice tool first, then follow with a damp cloth or small brush. Keep the weep holes in the bottom of the frame clear rather than jamming dust into them, since that's how the frame drains rain.
- Sills, frames and the tops of window casings.
- Window and sliding-door tracks: vacuum, then damp wipe.
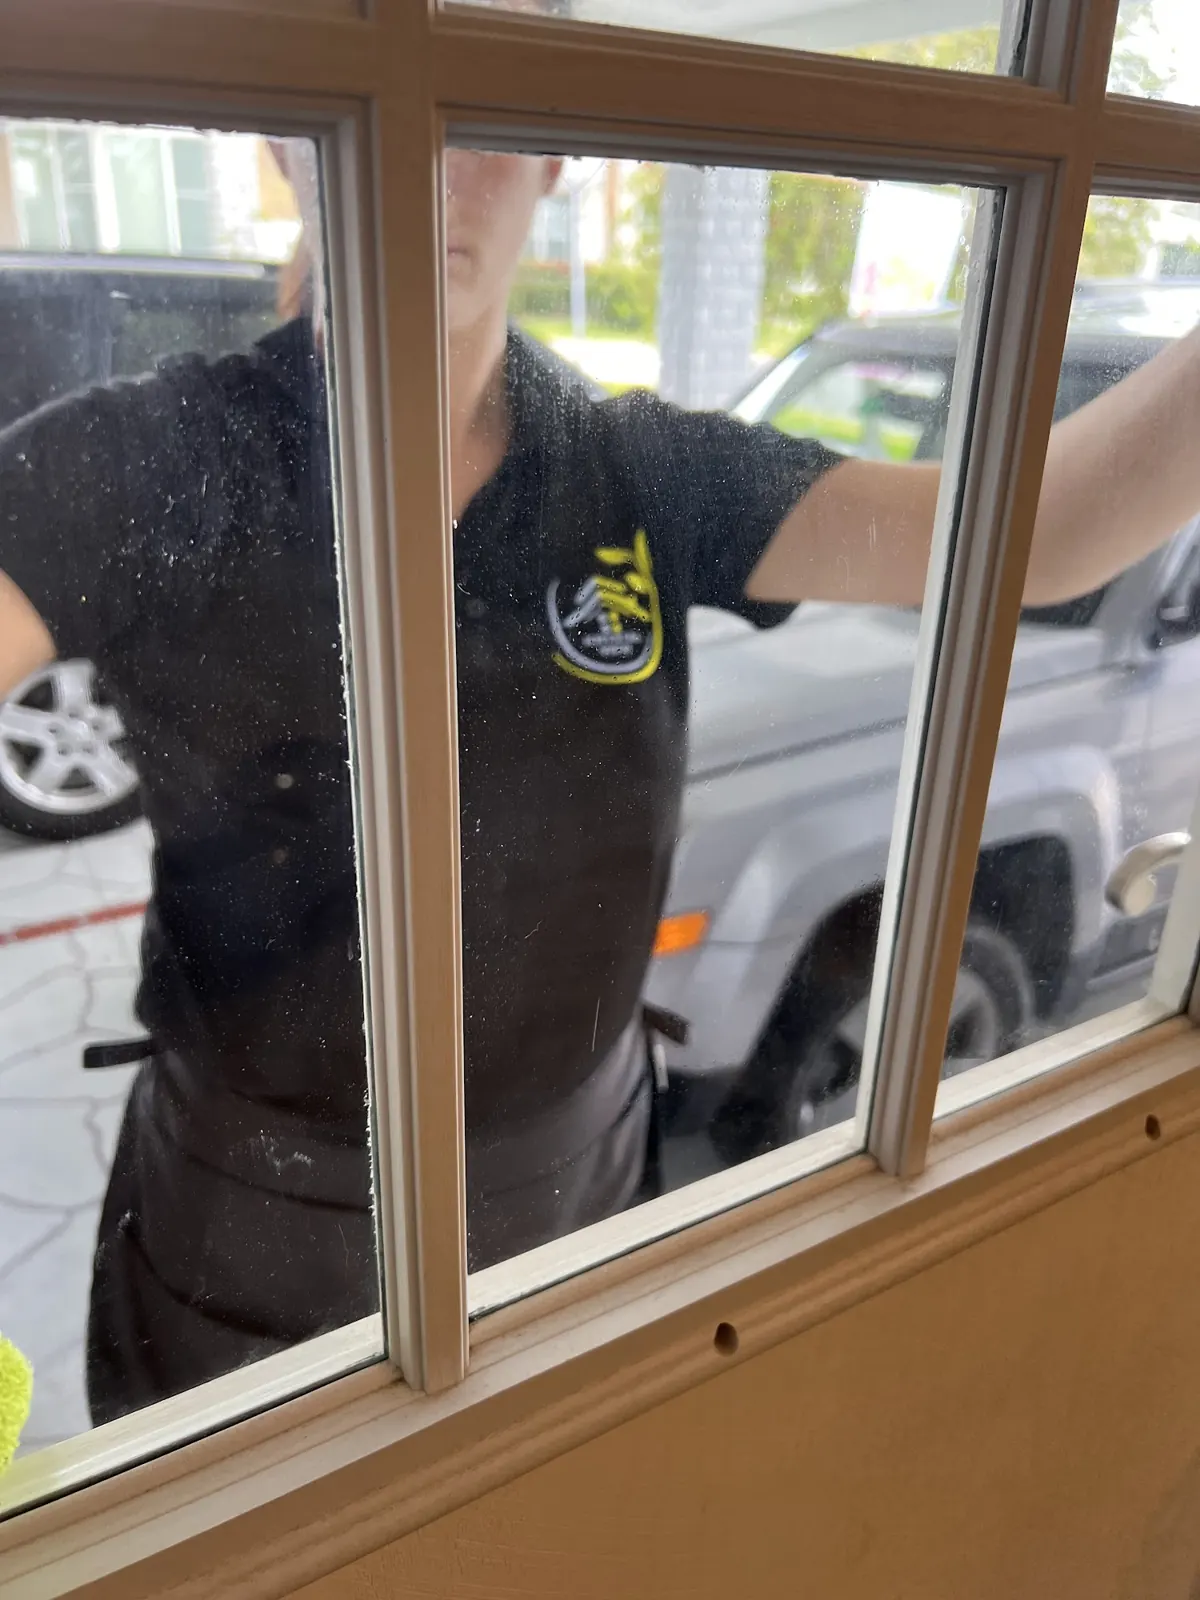
- Interior glass: labels, adhesive and paint specks handled the safe way (next section).
- Screens: shake or vacuum them off if they were stored in the dusty area.
Stickers, labels and paint specks on glass: the safe way
This is where post-construction cleanups do real, permanent damage, so slow down. The razor blade trick everyone knows is only safe on some glass. The Glass Association of North America's guidance allows a new razor blade for small spots of paint or residue on uncoated glass, and warns that scraping can drag tiny bits of debris across the surface and scratch it, which is a known issue with tempered glass. Marvin says razor blades aren't recommended on any coated glass such as low-E, and Cardinal, a major glass maker, advises against metal blades on glass altogether. Window film makers say no razors or abrasives on film, and tinted film is common on Florida windows.
Most window makers also want labels off soon after installation and not peeled in direct sun. Florida sun bakes adhesive onto glass fast, so don't leave them for months.
Work from gentlest to strongest and stop at the first step that works:
- Find out what the glass is. Check the window label or ask the installer about low-E coatings, film or a factory coating. If you can't confirm the room-side surface is plain glass, don't use a blade.
- Soak the label. Hold a warm, wet cloth with a little dish soap on it for several minutes, then peel slowly from a corner.
- Use a plastic scraper on the softened label or leftover adhesive.
- For sticky residue, a little rubbing alcohol on a cloth usually lifts it. Keep solvents off vinyl frames, rubber gaskets and window film, and test a small spot first.
- Latex paint specks often soften with warm soapy water and come off with a fingernail or plastic blade.
- Only on glass you've confirmed is uncoated: a new single-edge blade, glass kept wet, held at a low angle around 30 degrees, pushed in one direction only on small spots. Never back and forth. If you hear or feel grit, stop.
- Never use steel wool, scouring pads or abrasive powders on window glass.
- Big paint overspray or scratches you find along the way go back to the contractor or window installer.
Grout haze and other residue on new surfaces
Grout haze is the thin cloudy film of cement left on tile after grouting. It's easiest to remove in the short window right after grouting, which is why it's usually the tile installer's job. Once it dries, it takes a haze remover, and the right one depends on the grout. Many cementitious haze removers are acidic, which is fine on porcelain and ceramic but can etch marble, travertine and other acid-sensitive stone. Epoxy grout haze needs a remover made for epoxy. Check the grout bag or the manufacturer's data sheet, wait for the cure time it lists, and test in a corner first. If the haze is heavy, ask the installer to come back for it.
Other leftovers are simpler. Dried drywall mud on tile or vinyl floors softens with water and comes up with a plastic scraper. Caulk smears on tile can often be rolled off with a fingernail once cured. Paint drips on tile usually come off with warm water and a plastic blade, while paint on grout is a contractor fix.
What to leave to your contractor
A cleaner can make a finished space look finished. A cleaner shouldn't be fixing construction. These belong with the contractor or a specialist, and it's easier to put them on the punch list now than argue about them after the final payment.
- Debris hauling, leftover materials and the dumpster.
- Paint touch-ups, drywall dings and nail pops.
- Heavy grout haze, unsealed grout and grout sealing.
- Scratched, chipped or fogged glass and failed window seals.
- Duct cleaning (an HVAC company) and anything electrical, like taking down fixtures.
- Floor refinishing, sealing or waxing.
- Exterior washing, roofs and outside windows.
A realistic timeline from last trade to move-in
If it's a vacation rental, block the calendar long enough for the touch-up to happen before the first check-in. A guest who finds a gray film on the nightstand or a hazy shower door will mention it in a review. Our vacation rental cleaning can pick up the regular turnovers once the remodel dust is gone.
- Last trade leaves: walk through with the contractor and write up the punch list.
- That evening: fresh AC filter, fans off, doors closed, let the dust settle overnight.
- Day 1 or 2: the detailed final clean.
- As punch-list repairs happen: each patch or paint touch-up makes a little new dust, so group them if you can.
- Day 3 to 7: the touch-up clean, after repairs are done.
- Move-in or first guests, then about two weeks later: check and replace the AC filter again.
Booking the final and touch-up cleans
Krystal View handles light post-construction cleaning once the debris is gone: dust, vents, fixtures, sills and tracks, label residue, cabinet interiors and floors, plus extras like inside the oven or fridge from our add-on services. We don't haul debris or do the rough clean, and we'll tell you straight if your job isn't ready for us yet. For the dust-specific details, our guide to post-construction dust goes deeper.
Send us your finish date and the rooms involved for a free estimate, or call +1 877-754-5614.


